From 0 to Working Car
In this step by step tutorial I will inlustrate you how to setup all our working environment.
Hardware List
- Jetson Xavier NX Developer Kit
- SD card > 6 GB
Download Card Image
- Go to the official NVIDIA download page
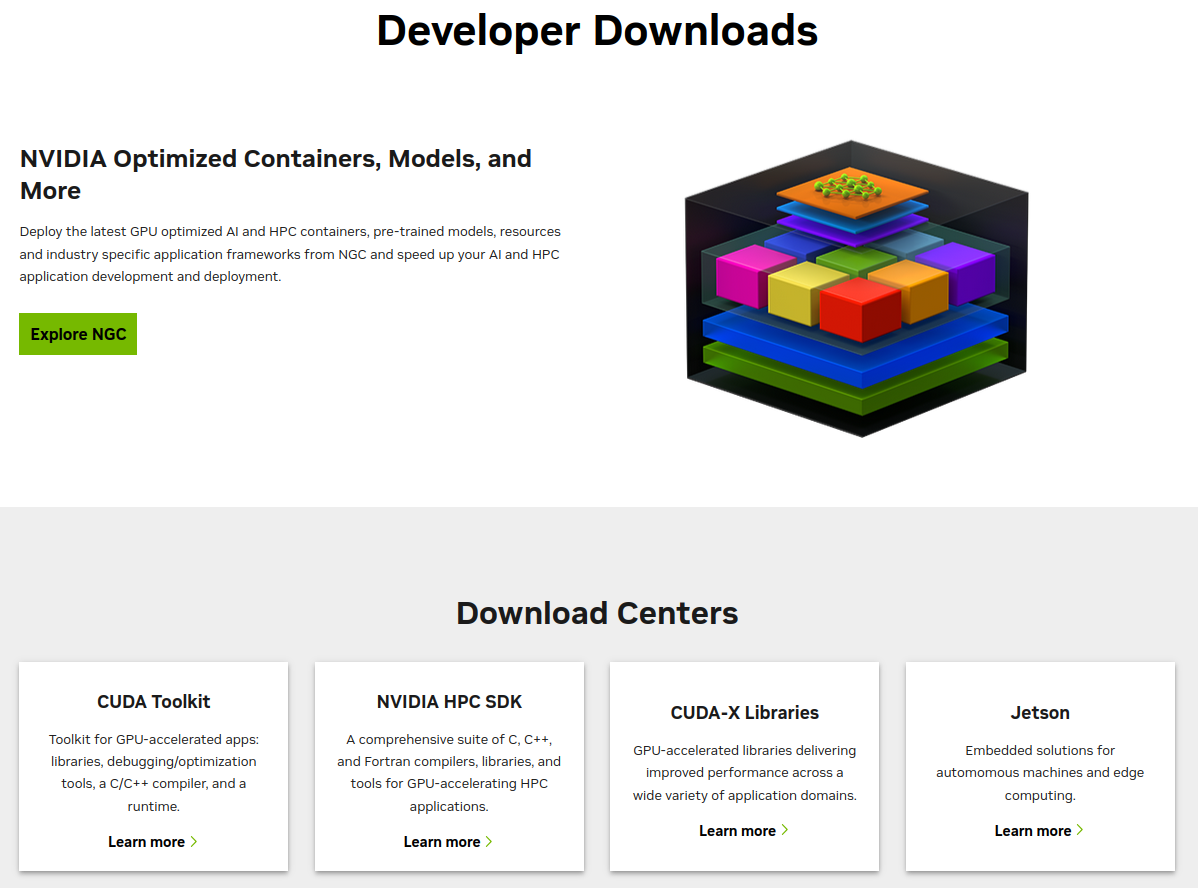
- Click On Jetson
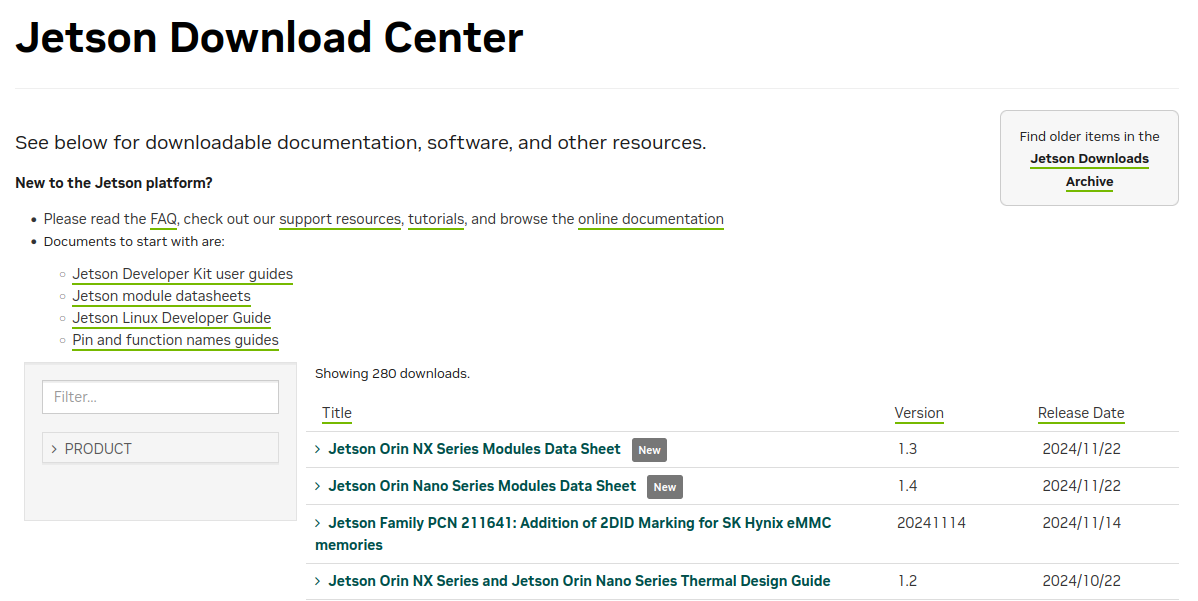
- Inside Filter... search for:
Jetson Xavier NX Developer Kit SD Card Image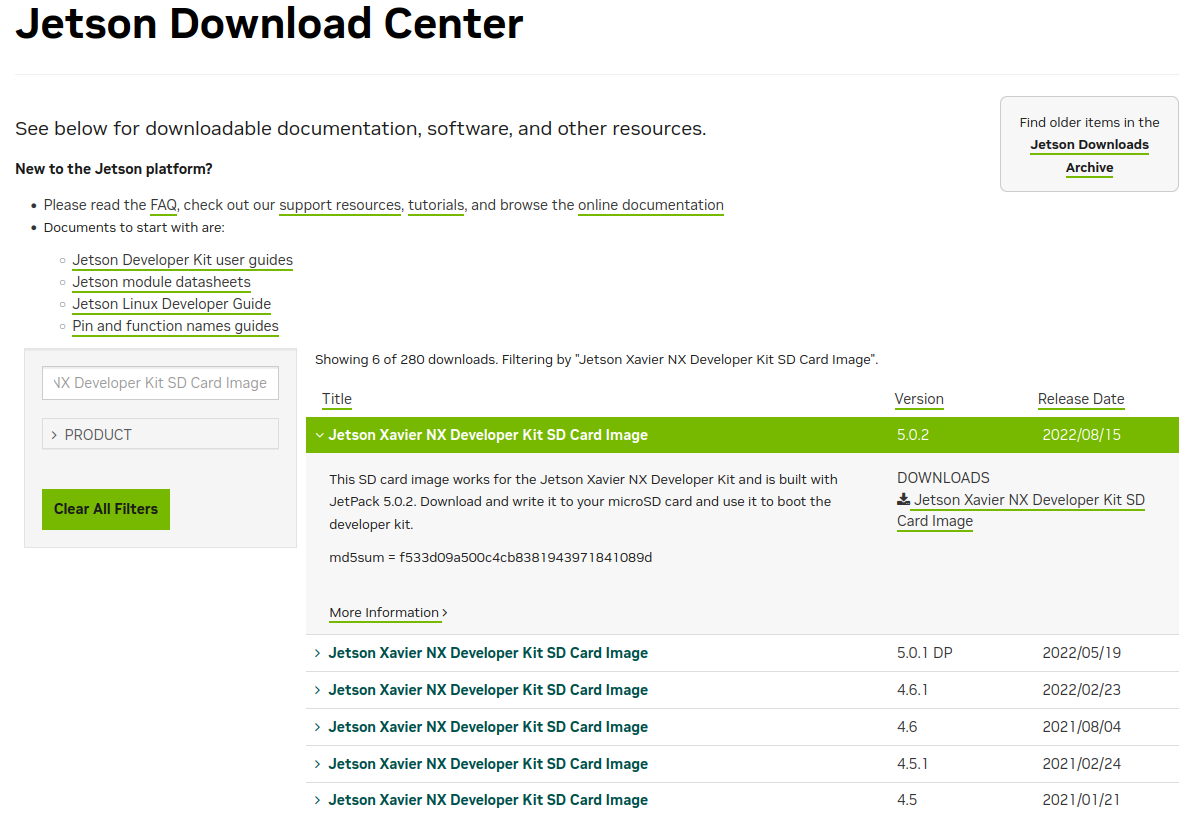
- Download the last version
Flash the Image on the SD
- Completely format the sd card. Remove any previuosly present partition.

- From the official Balena Etcher website download it.
- Run Balena Etcher on Linux:
- Unzip the downloaded file
- Go inside:
balenaEtcher-linux-x64-*.**.**/balenaEtcher-linux-x64 - Double click on
balena-etcherrunnable
- Select the previuosly downloaded image and the wanted SD card and run it
Let's run the Jetson
- Attach to the jetson:
- Monitor
- Keyboard
- Mouse
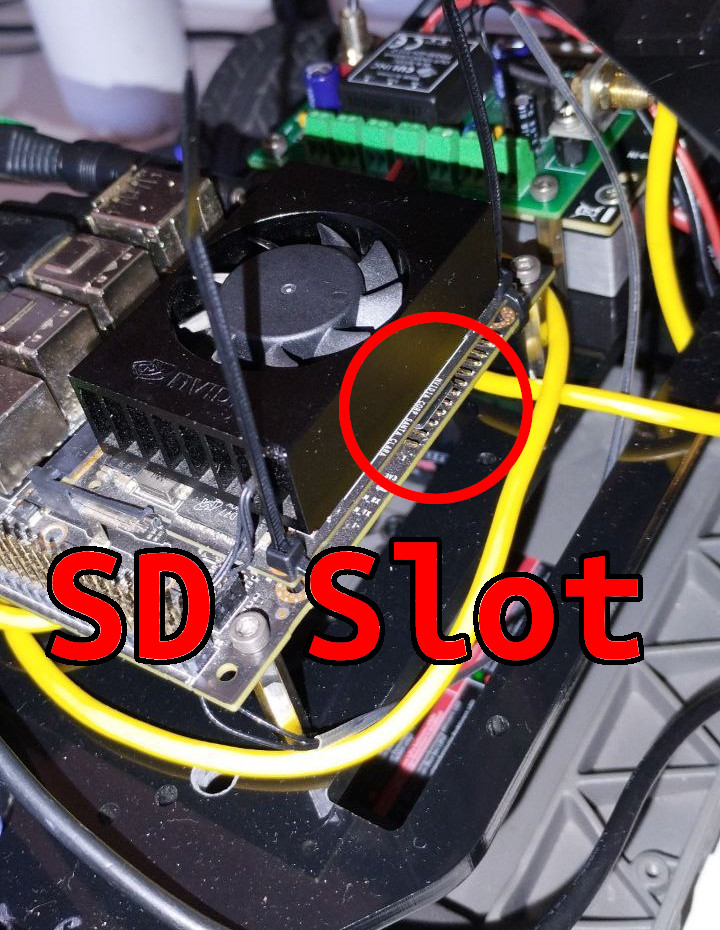
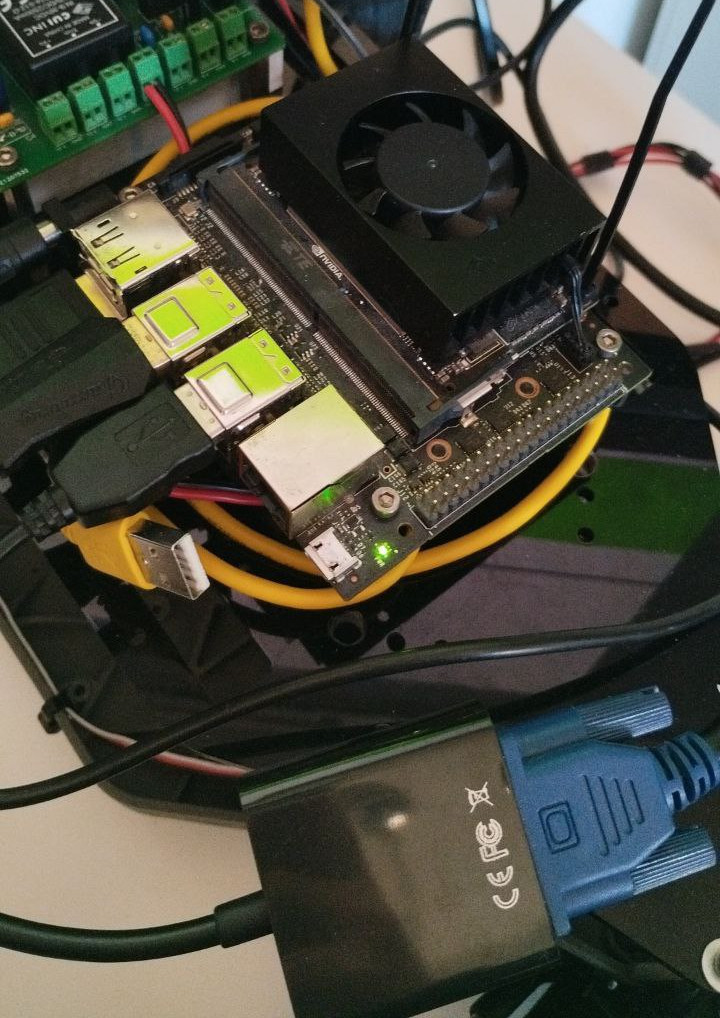 2. Insert the SD card inside the Jetson.
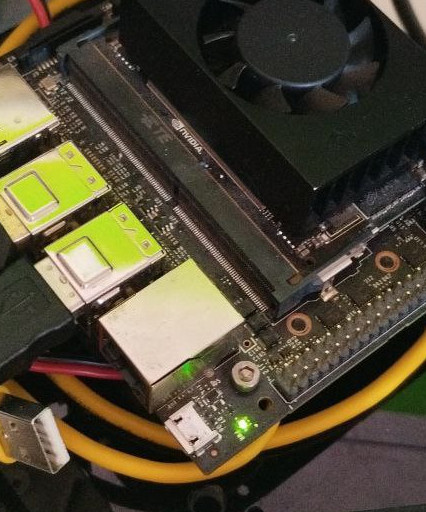
 3. Power on the Jetson with a [9; 20] V input. A green led will turn on.
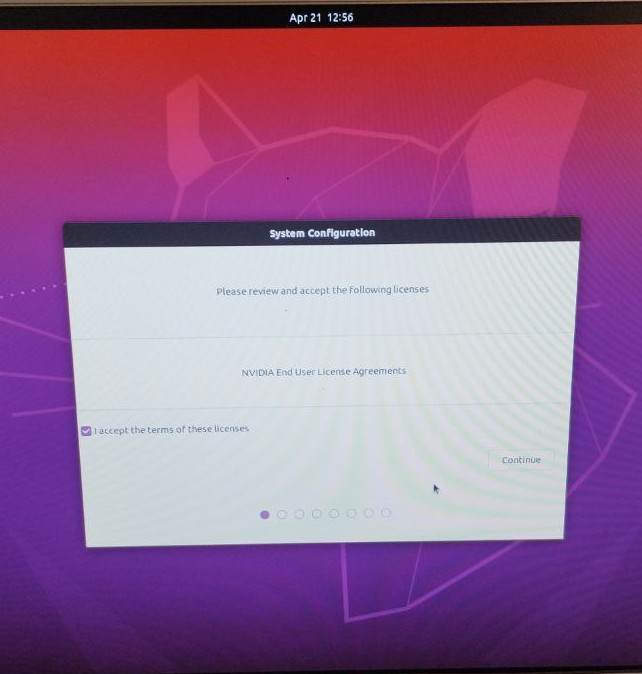
 4. The jetson should automatically select SD as boot device, if not you can force it with F11 while starting. Anyway if not probably something wrong while flashing the SD. After the first boot you will end up with:
Let's Set-Up The Jetson
- Accept all the licenses
- Put English as first Language
- Italian as keyboard layout
- Rome as time zone
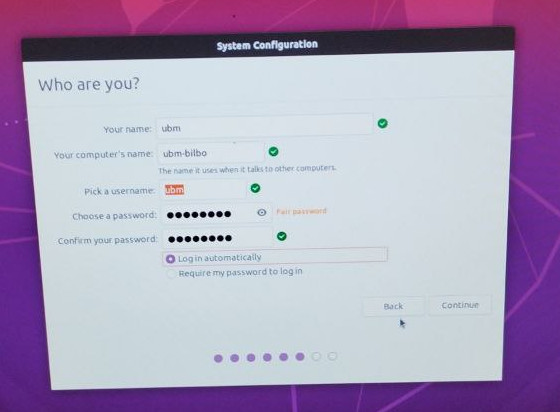
- Add a user:
- username:
ubm - computer_name:
ubm-<name_of_the_car> - password: The usual one
- Automatic Log in setted On
- username:
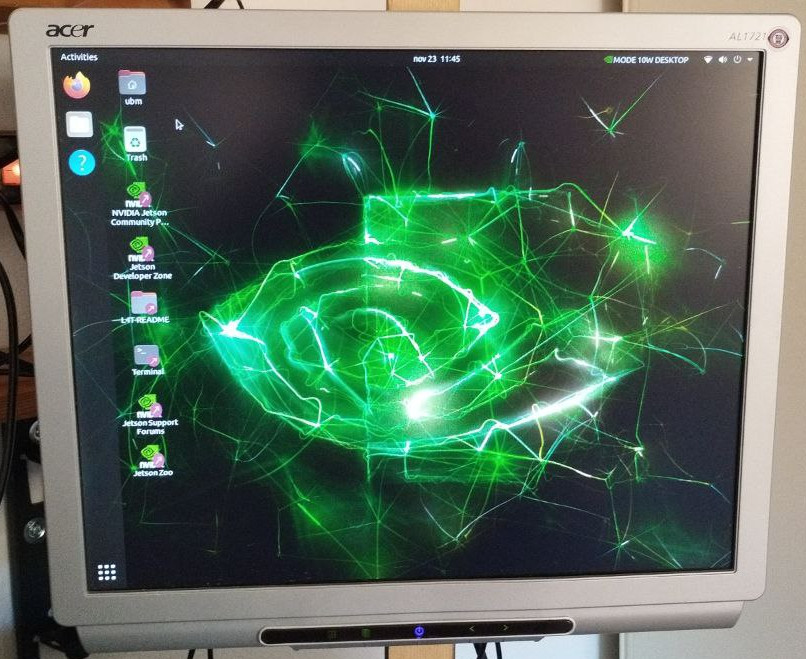
 6. The Jetson is ready:
Let's format the SSD
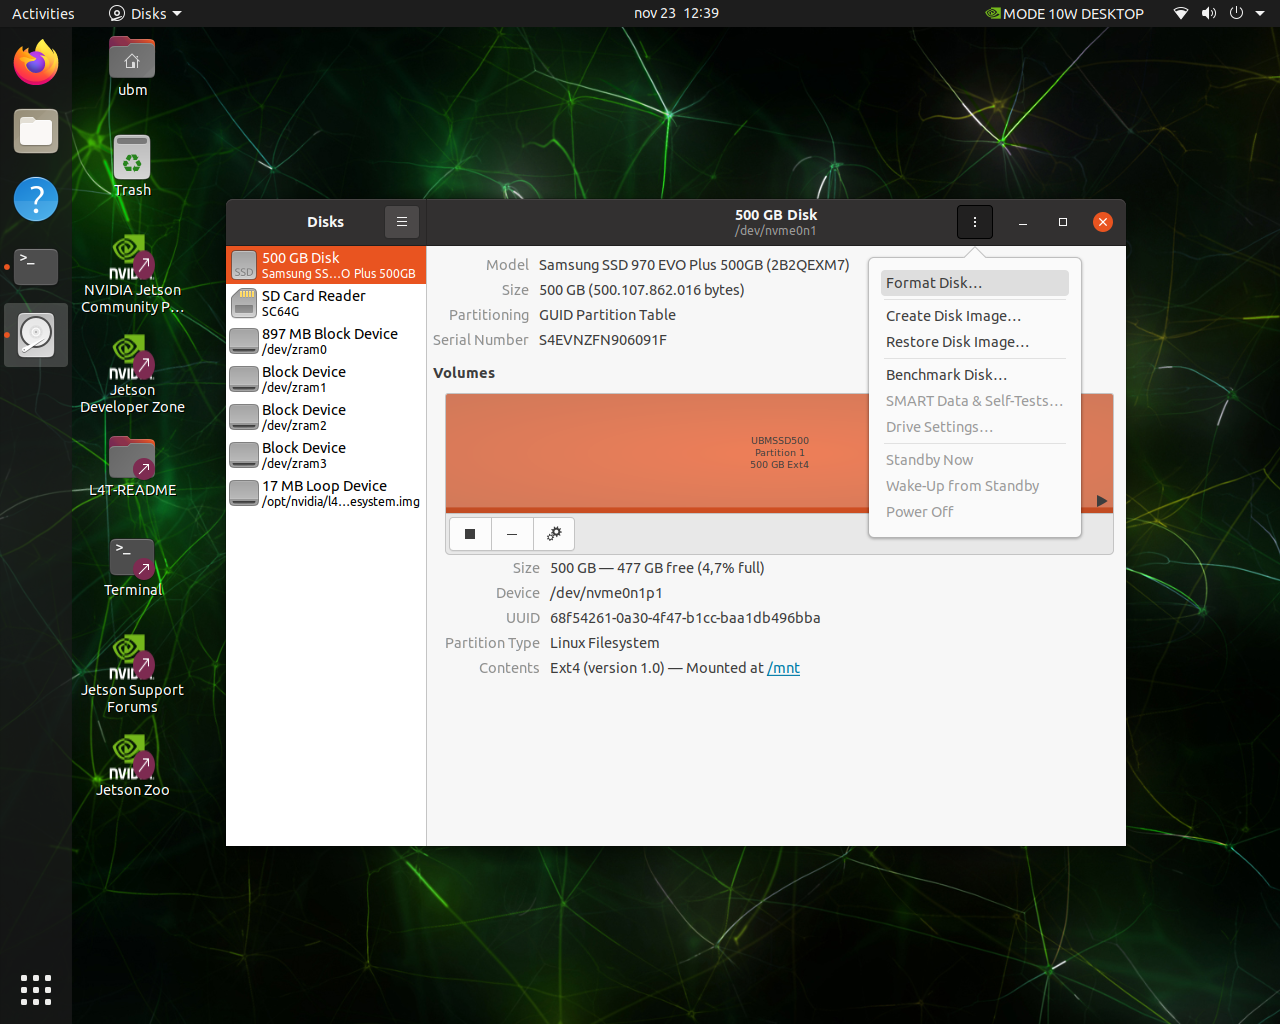
- Search for Disk App.

- Select the 500GB SSD and from th top right corner three dots select format.
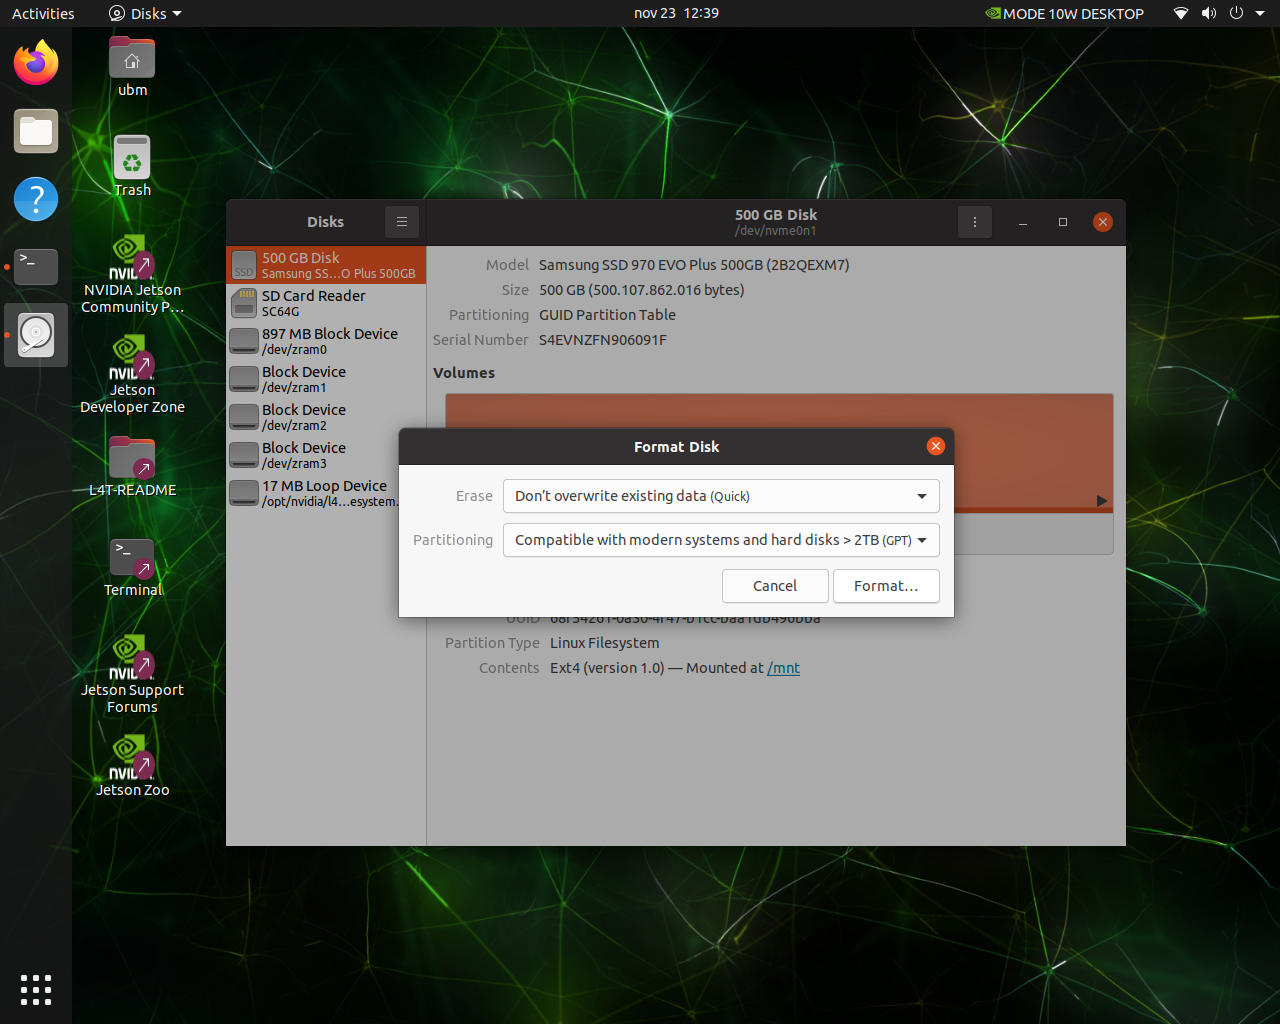
- Format it leaving averything as default.
Let's move the root to the SSD
- Open a Terminal
cd ~/Downloadsgit clone https://github.com/jetsonhacks/rootOnNVMe.gitcd rootOnNVMe./copy-rootfs-ssd.sh
./setup-service.sh
sudo reboot now
Let's Update all the Packages
- Open a Terminal
sudo apt updatesudo apt upgradesudo reboot now
Let's create a Swapfile
sudo fallocate -l 4G /var/swapfilesudo chmod 600 /var/swapfilesudo mkswap /var/swapfilesudo swapon /var/swapfilesudo bash -c 'echo "/var/swapfile swap swap defaults 0 0" >> /etc/fstab'
Let's Install some Basic Software
sudo apt install nano python3.8-full python3-pip treesudo pip3 install -U jetson-statssudo reboot now- Now if you run
jtop:
Let's add udev rules
sudo -secho 'KERNEL=="ttyACM[0-9]*", ACTION=="add", ATTRS{idVendor}=="15d1", MODE="0666", GROUP="dialout", SYMLINK+="sensors/hokuyo"' >> /etc/udev/rules.d/99-hokuyo.rulesecho 'KERNEL=="ttyACM[0-9]*", ACTION=="add", ATTRS{idVendor}=="0483", ATTRS{idProduct}=="5740", MODE="0666", GROUP="dialout", SYMLINK+="sensors/vesc"' >> /etc/udev/rules.d/99-vesc.rulessudo udevadm control --reload-rulessudo udevadm triggersudo reboot now- Check that inside /dev/sensors there is vesc
Let's Install ROS2 foxy
sudo locale-gen en_US en_US.UTF-8sudo update-locale LC_ALL=en_US.UTF-8 LANG=en_US.UTF-8export LANG=en_US.UTF-8sudo apt update && sudo apt install curl -ysudo curl -sSL https://raw.githubusercontent.com/ros/rosdistro/master/ros.key -o /usr/share/keyrings/ros-archive-keyring.gpgecho "deb [arch=$(dpkg --print-architecture) signed-by=/usr/share/keyrings/ros-archive-keyring.gpg] http://packages.ros.org/ros2/ubuntu $(. /etc/os-release && echo $UBUNTU_CODENAME) main" | sudo tee /etc/apt/sources.list.d/ros2.list > /dev/nullsudo apt updatesudo apt upgradesudo apt install ros-foxy-desktop python3-argcompletesudo apt install ros-dev-toolsLet's try if ros2 is working:source /opt/ros/foxy/setup.bashros2 run demo_nodes_cpp talkerExpected Output:ubm@ubm-bilbo:~$ ros2 run demo_nodes_cpp talker [INFO] [1732365939.572103752] [talker]: Publishing: 'Hello World: 1' [INFO] [1732365940.571954330] [talker]: Publishing: 'Hello World: 2' [INFO] [1732365941.571874272] [talker]: Publishing: 'Hello World: 3' [INFO] [1732365942.571906233] [talker]: Publishing: 'Hello World: 4'sudo apt install python3-colcon-common-extensionssudo apt install python3-bloom python3-rosdep fakeroot debhelper dh-pythonsudo rosdep initrosdep updatereading in sources list data from /etc/ros/rosdep/sources.list.d Hit https://raw.githubusercontent.com/ros/rosdistro/master/rosdep/osx-homebrew.yaml Hit https://raw.githubusercontent.com/ros/rosdistro/master/rosdep/base.yaml Hit https://raw.githubusercontent.com/ros/rosdistro/master/rosdep/python.yaml Hit https://raw.githubusercontent.com/ros/rosdistro/master/rosdep/ruby.yaml Hit https://raw.githubusercontent.com/ros/rosdistro/master/releases/fuerte.yaml Query rosdistro index https://raw.githubusercontent.com/ros/rosdistro/master/index-v4.yaml Skip end-of-life distro "ardent" Skip end-of-life distro "bouncy" Skip end-of-life distro "crystal" Skip end-of-life distro "dashing" Skip end-of-life distro "eloquent" Skip end-of-life distro "foxy" Skip end-of-life distro "galactic" Skip end-of-life distro "groovy" Add distro "humble" Skip end-of-life distro "hydro" Skip end-of-life distro "indigo" Add distro "iron" Skip end-of-life distro "jade" Add distro "jazzy" Skip end-of-life distro "kinetic" Skip end-of-life distro "lunar" Skip end-of-life distro "melodic" Add distro "noetic" Add distro "rolling" updated cache in /home/ubm/.ros/rosdep/sources.cache
Let's Create and Set-Up our Workspace
cd $HOMErm -rf Music Pictures Public Templates Videos Documentssudo usermod -aG input ubmmkdir Softwaremkdir -p f1tenth_ws/srccd f1tenth_wscolcon buildssh-keygenJust press enter and leave everything as defaultGenerating public/private rsa key pair. Enter file in which to save the key (/home/ubm/.ssh/id_rsa): Enter passphrase (empty for no passphrase): Enter same passphrase again: Your identification has been saved in /home/ubm/.ssh/id_rsa Your public key has been saved in /home/ubm/.ssh/id_rsa.pub The key fingerprint is: SHA256:sdmSu2w/krGwt23PJB9jO0bYyATguRf+6u1x7d+Xq3U ubm@ubm-bilbo The key's randomart image is: +---[RSA 3072]----+ | .. | | . .. | | o o. | | o B. | | . So.+ | | ...++ o. | | o.++.* ..E| | ..*=oOo=..+| | +**=+=ooo=| +----[SHA256]-----+cat ~/.ssh/id_rsa.pubssh-rsa AAAAB3NzaC1yc2EAAAADAQABAAABgQDN7+Bvuoxp3m94JyjrbjC4HytEGS2a4Jpb3GAvC5NG+8lfm9mrLDdzY/dxlV1mpm56WNK/TLJOwCOcN/fg3PWWbqsrY+sosUtD8auAQs66QiooLDeN2fOoU6oDCLvLpLO6ozIG/ZgeG18nTqcNZR66LQJW3/gsk8w9nkSnii0/dsyF7K5X33/x8R7HecAnT6H2fI10avOH9FkF39g+7L0Ycr2Q7r22LQ/2CSazYLqSb762oExGJ/YdhYxFYmgzQ5Jb54GDdYoghv54zYGEb5ubeVuFnkAtLeGPzANdX0r8rwsn2aZEMNz01E3gr8GCccVa0xApIYUUAGD3QHuw0JALu3o0aRE3CHiFRCJb6hx23qAf872oWKHay/HdwPqw/maVNa2bdYxW70G7jsAvH3hbh0dG73Nro+WQdF38VoxUYYZ1+yTf1QetQSZ/3o/5X+7lCdbfoDygYJcVAuEm2RvTgmK0Epcyq1psEgNd0wsQzKXCeKOnoCk7V1qpWeJ1IyM= ubm@ubm-bilbo- Copy the output on the SSH and GPG keys of the github ubm-device account. Ask for the credentials.
cd ~/git clone git@github.com:ubm-driverless/ubm-f1tenth.git repocat ~/repo/updated_bashrc.bash >> ~/.bashrc
Let's Build f1tenth_system
ln -s /home/ubm/repo/f1tenth_system/ /home/ubm/f1tenth_ws/src/cd /home/ubm/f1tenth_ws/src/git clone https://github.com/f1tenth/ackermann_mux.gitcd /home/ubm/f1tenth_wsrosdep update --rosdistro="foxy"rosdep install --from-paths src -i -ycolcon build
Let's Install Vnc
sudo apt install xvfb x11vnc lxsessionsudo nano /etc/systemd/system/vnc.service- Write inside the file:
[Unit] Description=Start Xvfb, LXDE, and x11vnc server After=network.target graphical.target Wants=network.target graphical.target [Service] Type=forking Environment=DISPLAY=:99 ExecStart=/bin/bash -c "Xvfb :99 -screen 0 1024x768x24 & echo $! > /tmp/xvfb.pid; lxsession & echo $! > /tmp/lxsession.pid; x11vnc -display :99 -forever -nopw -xkb & echo $! > /tmp/x11vnc.pid" ExecStop=/bin/bash -c "kill -9 $(cat /tmp/xvfb.pid) $(cat /tmp/lxsession.pid) $(cat /tmp/x11vnc.pid)" PIDFile=/tmp/xvfb.pid Restart=always User=ubm WorkingDirectory=/home/ubm TimeoutStopSec=10 [Install] WantedBy=multi-user.target -
sudo systemctl daemon-reload -
sudo systemctl start vnc.service
Let's Install JetsonGPIO
cd /home/ubmgit clone https://github.com/pjueon/JetsonGPIOcd JetsonGPIOmkdir build && cd buildcmake ..sudo cmake --build . --target install
Let's Install sick_scan_xd
cd $HOMEcd Softwaregit clone https://github.com/SICKAG/libsick_ldmrs.gitgit clone -b master https://github.com/SICKAG/sick_scan_xd.gitsource /opt/ros/foxy/setup.bashln -s /home/ubm/Software/libsick_ldmrs/ /home/ubm/f1tenth_ws/src/ln -s /home/ubm/Software/sick_scan_xd /home/ubm/f1tenth_ws/src/
Let's Build sick_scan_xd
cd ~/f1tenth_wssudo apt install ros-foxy-diagnostic-updatersrccolcon build --packages-select libsick_ldmrs --event-handlers console_direct+srccolcon build --packages-select sick_scan_xd --cmake-args " -DROS_VERSION=2" --event-handlers console_direct+